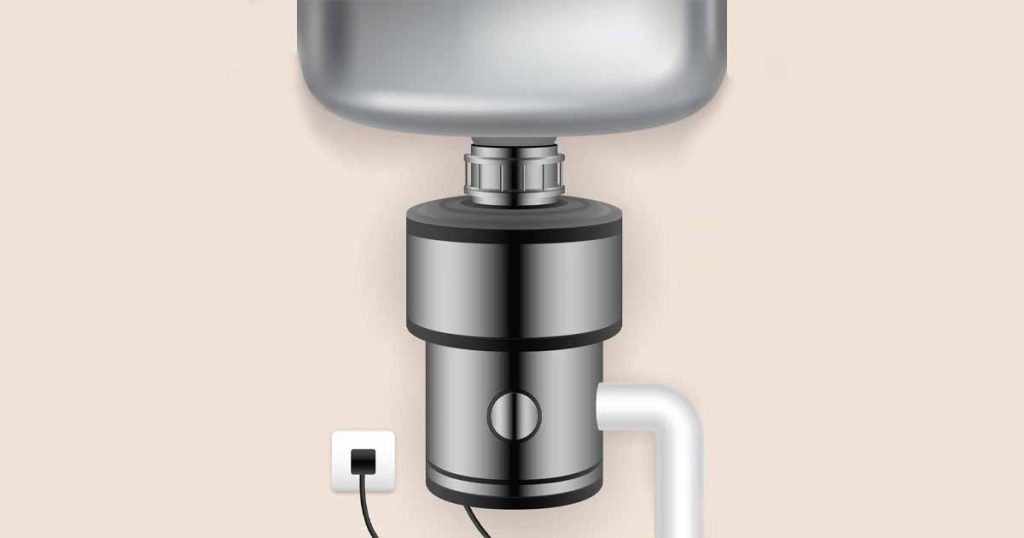
Guide to a Sparkling Clean Garbage Disposal

A garbage disposal is a kitchen hero—it chops up food scraps, reduces odors, and keeps your sink area pristine. However, food residues can accumulate inside the disposal without regular maintenance, leading to unpleasant smells, clogs, and sluggish performance. In this guide, we’ll show you exactly how to clean, deodorize, and care for your disposal so it remains a reliable kitchen partner for years to come.
Table of Contents
Why Regular Cleaning Matters
Over time, tiny food particles, grease, and other debris attach to the walls and blades of your disposal. This buildup can cause:
- Unpleasant Odors: Rotten food scraps are a recipe for foul smells that linger around your sink.
- Clogged Drains: Excess gunk eventually creates a blockage, slowing water flow and possibly backing up your pipes.
- Reduced Efficiency: A dirty disposal can struggle to break down even mild scraps, making the motor work harder and potentially shortening its lifespan.
By dedicating a few minutes to disposal maintenance each month, you can keep your disposal running smoothly and avoid emergency plumbing calls.
Gather Your Cleaning Supplies
Before you begin, it helps to have the right tools on hand. You likely already have these items in your kitchen:
- 1 Cup of Ice Cubes: The ice particles act like tiny scrubbers inside the disposal.
- 1 Lemon (Peeled, Halved): Lemons offer natural deodorizing and help break down grease.
- 1 Cup of Liquid Dish Soap: Cuts through residue and leaves a fresh scent.
- Tongs: Essential for safely placing items into the disposal.
Step-by-Step: The 6-Point Cleaning Method
Step 1: Insert the Lemon Halves
Using tongs, gently place your peeled lemon halves into the garbage disposal. The citrus oils will help dissolve grease and neutralize lingering odors.
Step 2: Add Ice Cubes
Next, drop in one cup of ice. As the disposal runs, the ice chips scrape off stubborn buildup from the inner walls and blades.
Step 3: Activate the Disposal
Flip the switch to turn on the disposal. Allow the lemon and ice to grind for a few moments.
Step 4: Pour in Dish Soap
With the disposal still running, carefully add one cup of liquid dish soap. This step ensures that oily residues are broken down and the grinding components are sanitized.
Step 5: Run Cold Water
Let cold water flow for about 30 seconds while the disposal is operating. The water helps flush out dislodged debris and foam created by the dish soap.
Step 6: Power Down
Finally, turn off the disposal and water. Wait a moment for all contents to clear. You’ve just given your disposal a mini spa treatment!
Pro Tips for a Truly Fresh Disposal
- Monthly Maintenance: Aim to complete the above cleaning routine at least once a month—or whenever you detect unpleasant odors.
- Optional Baking Soda & Vinegar: For extra freshening, pour ½ cup of baking soda into the disposal, followed by 1 cup of white vinegar. Let the mixture fizz for a few minutes, then rinse with hot water.
- Scrub the Splash Guard: Using an old toothbrush or soft kitchen brush, gently clean the rubber splash guard where bits of food can hide.
Common Disposal Mistakes to Avoid
Not all kitchen scraps belong at your disposal. Some materials can cause immediate jams or gradually wear down the unit. Steer clear of:
- Hard Items: Seeds, bones, pits, and popcorn kernels can damage or wedge under the blades.
- Fibrous Foods: Onion skins, celery stalks, corn husks, and egg shells can wrap around moving parts.
- Large Grease Deposits: Big globs of fats or oils congeal on blades and pipes, leading to stubborn clogs.
When in doubt, dispose of questionable scraps in the garbage bin instead.
Troubleshooting Issues and Knowing When to Call a Pro
Sometimes, even the best care can’t prevent every possible problem. If your garbage disposal:
- Makes Unusual Noises (beyond the crunch of regular grinding)
- Shuts Off Mid-Operation without tripping the circuit breaker
- Drains Extremely Slowly or not at all
- Refuses to Turn On despite proper resets
It’s likely time for professional intervention. PlumberHelp connects you with licensed plumbers who can inspect, repair, or replace your disposal if necessary. They’ll quickly diagnose the issue, saving you time, hassle, and potential damage to your plumbing system.
Extend Your Disposal’s Lifespan with Simple Habits
- Flush Often: After grinding, keep the water running for a few extra seconds to clear the remaining debris.
- Use Cold Water: Cold water solidifies any lingering fats, allowing the disposal to break them up more effectively.
- Feed Scraps Slowly: Overloading the disposal with large amounts of food can cause clogs or motor strain.
- Regular “Ice Therapy”: Periodically grinding a handful of ice cubes (even outside a complete cleaning routine) keeps blades sharp and the interior clean.
A clean, efficient garbage disposal doesn’t have to be a pipe dream. Following a consistent cleaning routine, avoiding harmful scraps, and addressing minor issues early will keep foul odors and clogs at bay. If things go awry, don’t stress—PlumberHelp can connect you with trusted plumbing experts for any necessary repairs or upgrades.
Try these steps and enjoy a fresher, hassle-free kitchen every day.
